
Create a session
You can create your SignGlasses sessions straight from your Dashboard!
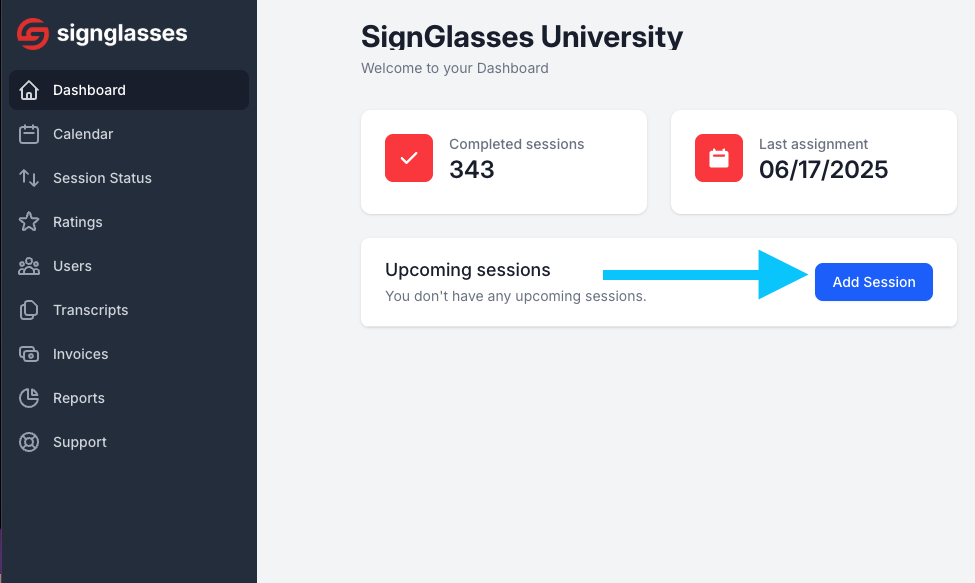
Click the "Add Session" button
Log into your SignGlasses account
Click the blue [Add Session] button near the center of the screen in your Dashboard
Add the Session Details
Add the Title
Select the Category
Select the Preferred practitioner experience
Enter in the Date and Time
If this is a repeating session,
Select Repeats
The days the session will occur
When the session will end
Notice there is a timezone option. If you are scheduling for users in other timezones, you can set this to their time zone and schedule it for the time it will be for them.
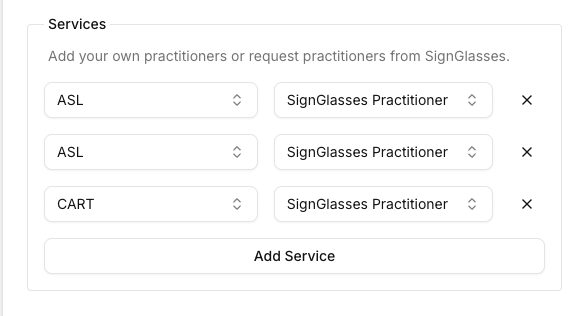
Select the Service Type & Request a Practitioner
Click the [Add Service] button
From the drop-down on the left, choose between ASL, CART, and TYPEWELL.
From the drop-down on the right, chose between a SignGlasses Practitioner or one of your internal ones.

Multi-Service
Do you want users to see captions and interpreters all in one session? Our new Multi-Service feature makes it easy—just select both service types when booking.
To enable this for your institution, email us at ops@signglasses.com.
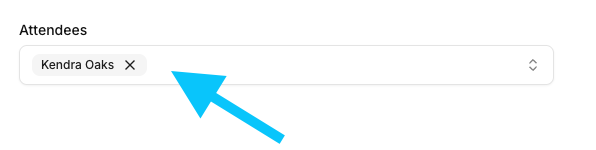
Add the User
Select the name of the user(s) for this session from the Attendees drop-down menu.
If you don't see the name of the user you're looking for, follow our guide on Adding Users to add them to SignGlasses.
Select the platform you will be using
Under Platform, select whether the SignGlasses platform or an external platform (ie: Zoom, Google Meets, Microsoft Teams, etc.) will be used in this session.
Under Audio platform, select where the practitioner will receive audio
Under Practitioner platform, select where the services will be provided
Add the link to the external platform, if there is one
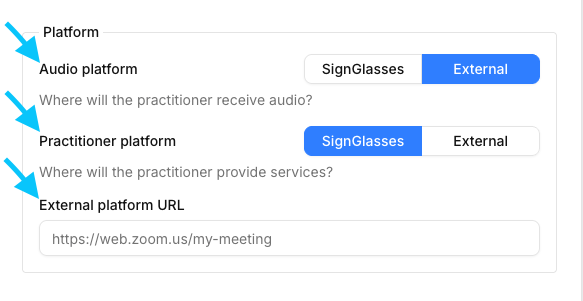
If you do not have the link yet, leave the URL section blank. We will send you 2 email reminders to add the link if one hasn't been added yet.
The 1st email: Will be sent 24 hours before the session
The 2nd email: Will be sent 1 hour before the session
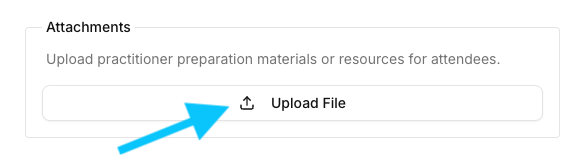
Add Prep Materials
Under Attachments, add any additional class resources that may be useful for the practitioners by clicking [Upload File] and selecting the files.
Examples of helpful materials include:
Lecture or Presentation Slides
Discussion Documents
Meeting Agendas
Users can also add their own prep materials for the practitioners! They can follow our guide on Add Prep Material as a Participant to do so.
Share Additional Information
There are optional text boxes that you can add information to.
Public Description: This is typically for general information. This can include the course description, what the meeting is about, etc. Everyone in the session can read this.
For other notes options, click + Add more notes and select from the options below:
Add notes for attendee : Information here is for the attendee/user only. (The practitioners in this session will not see this.)
Add notes for practitioner: Information here is for the practitioner only. (The attendee/user in this session will not see this.)
Add notes for Customer Care Team: This is good place to share preferred practitioners, contact info, or anything SignGlasses may need to know. Information here is only seen by the SignGlasses Customer Care Team.
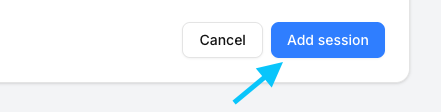
Click "Add Session"
Once you have filled in all the necessary information, click the blue [Add Session] button. Then you'll be all set!
You can also create a session from the Calendar page by clicking the blue [+ Add Session] button in the top-right of that page.
Any questions? Contact us at ops@signglasses.com